
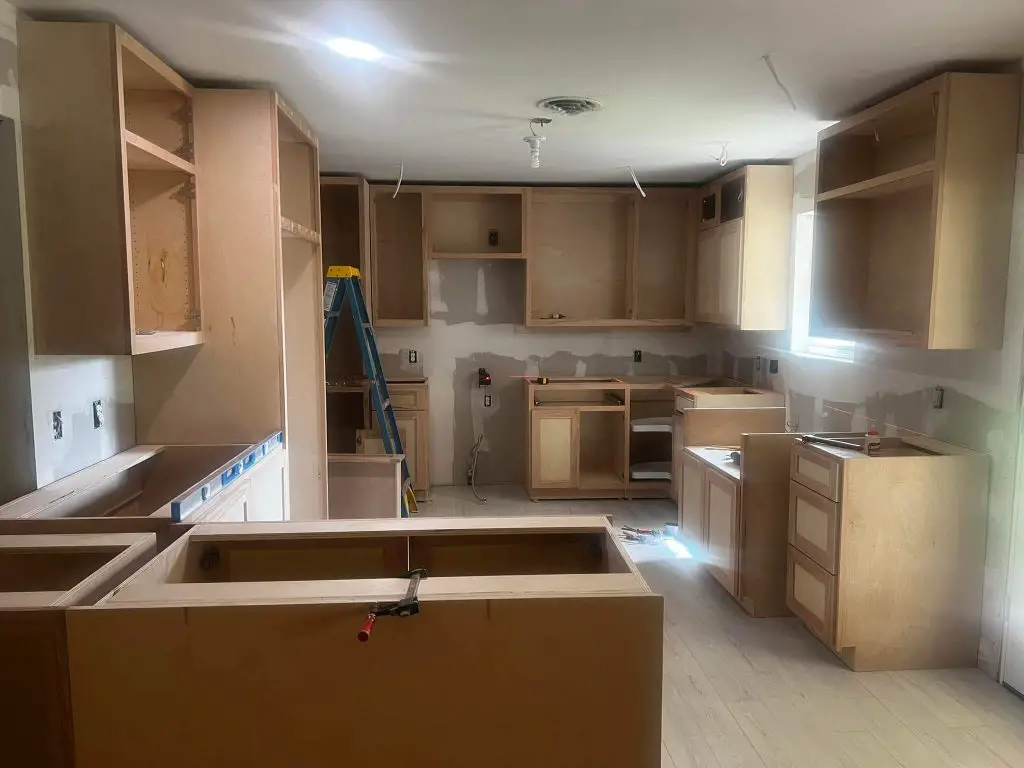
A few weeks ago, a friend called and said he needed to remove the kitchen cabinet but couldn’t find any screws. So, I went over to his house and helped him remove it.
The screws were concealed, and there were hidden fasteners. But, besides that, the cabinets could be joined together with adhesive or glue, which could be the reason too. Whatever the reason, the finding and removal process can be tricky if you can’t find the screws in your kitchen cabinet.
I walked you through the process in step-by-step detail. Let’s get into it.
Quick Jump
Why Can’t I See any Screws in My Kitchen Cabinets?
There could be single or multiple reasons why you can’t see any screws in your kitchen cabinets. By preference or not, people choose to hide or use different types of to attach things, alternative methods such as adhesives or hidden fasteners.
Reason #1: Concealed Screws
Some kitchen cabinets are designed with hidden screws for aesthetic purposes. They may have been installed so that the screws are not visible from the front or sides of the cabinets. In these cases, you will need to look for small caps or plugs that cover the screw heads, which can be removed to access the screws.
Reason #2: Hidden Fasteners
Now, here’s another possibility. Instead of screws, hidden fasteners such as cam locks, clips, or brackets may hold your cabinets together. These fasteners are usually inside the cabinet, making them invisible from the outside.
Reason #3: Adhesive or Glue
Sometimes, cabinet makers decide to ditch screws altogether and rely on the magic of adhesives. They use strong glues to bond the cabinets to the wall, creating a clean and screw-free look.
Reason #4: Combination of Methods
It’s also possible that a combination of attachment methods was used during installation. The cabinets may have hidden screws and other fastening techniques like adhesive or cam locks.
Besides these, there could be some possible methods, but these are the common reasons. Based on these, you might need to seek different methods to remove kitchen cabinets with no screws.
2 Methods to Remove Kitchen Cabinets with No Screws
The removal process will differ if the kitchen cabinet is glued or joined with hidden fasteners or screws or used both methods.
Before going into the removal method, here are some primary differences between concealed screws or hidden fasteners and adhesive or glue-based attachments.
| Concealed Screws or Hidden Fasteners | Adhesive or Glue-based Attachment |
| Utilizes screws or fasteners that are not visible from the front or sides of the cabinets. | Relies on adhesive or glue to secure the cabinets to the wall. |
| Screw heads may be covered with small caps or plugs, which can be removed to access the screws. | Provides a seamless and clean look, as there are no visible fasteners. |
| Allows for easier disassembly and reassembly of the cabinets if needed. | Requires breaking the bond between the cabinet and the wall for removal. |
| Provides a strong and secure attachment method. | Relies on the strength and quality of the adhesive or glue used. |
| Commonly used in high-quality, custom-built cabinets or higher-end modular cabinets. | Frequently found in ready-to-assemble (RTA) cabinets or cabinets with a more modern design. |
| Offers flexibility for adjustments and repairs without causing visible damage to the cabinet’s exterior. | May require more care and caution during removal to avoid damaging the cabinet or the wall. |
As you have a basic idea, I will discuss how you can remove both types.
Removing Kitchen Cabinets with Concealed Screws or Hidden Fasteners
I will start with the method where the screws are concealed or there are hidden fasteners. I’ll dive deep into the step-by-step detail later, but first, here are some necessary tools you need.
- Screwdriver (Depending on the type of screws)
- Putty knife or pry bar
- Flashlight
- Small hammer
- Pliers
And, of course, don’t forget to bring safety goggles and gloves for your protection.
Now, here are the steps that you need to follow.
One thing to mention here is that you must remove any items that may obstruct your access to the cabinets. And after that;
Step #1: Identify the attachment points
Before removal, of course, you need to look closely at the cabinets and examine them for any visible signs of attachment points. Look for small caps, plugs, or decorative covers that may conceal the screws. These covers are often on the cabinets’ hinges, corners, or sides.
Step #2: Remove the covers
- Get your screwdriver and gently pry off the covers to reveal the screws underneath.
- After that, set the covers aside safely, as you’ll need them when reassembling the cabinets.
Step #3: Unscrew the cabinets
- Once you’ve exposed the screws, get the screwdriver to unscrew them.
- You will need to turn counterclockwise to loosen and remove the screws. It’s helpful to have someone support the cabinets while you remove the screws to prevent them from falling.
Step #4: Check if there are additional attachments
While the screws may be the primary attachment method, some cabinets might have additional hidden fasteners, such as clips or brackets.
- Inspect the interior of the cabinets and corners for any signs of hidden attachments.
If yes, you will need to release the hidden fasteners. Depending on the type of hidden fasteners, you may need to use a combination of techniques to release them.
There might be two types of hidden fasteners (Clips and brackets).
If it’s a clip, Insert a flathead screwdriver or a putty knife between the cabinet and the clip, then apply gentle pressure to release it. Repeat this process for all the clips.
And, if it’s a bracket, use pliers or a small hammer to bend or pry the brackets away from the cabinet carefully.
Step #5: Detach the cabinets
If you’re done removing all the visible screws and releasing any hidden fasteners, you can detach the cabinets from the wall.
- Gently lift the cabinets while ensuring they are fully released from the wall.
- It’s better if someone assists you if the cabinets are large or heavy to prevent accidents.
Lastly, the wall might have holes or damage after removing the cabinets. If you want, fill any holes with spackle or putty, and sand them down to create a smooth surface.
Removing Kitchen Cabinets with Adhesive or Glue-based Attachment
One method is done. Now I will go through removing kitchen cabinets with adhesive or glue-based attachment.
In this method, there are also five simple steps. But first, here is the tool list.
- Putty knife or pry bar
- Rubber mallet or hammer
- Utility knife
As usual, before we begin, ensure you clear out the cabinets and remove any items inside.
Step #1: Cut the edges
Safety first! Put on your protective gloves and safety glasses. Then;
- Take a utility knife and carefully cut along the edges where the cabinets meet the wall.
That will help break any paint or caulking seals and make it easier to separate the cabinets later.
Step #2: Start removing from the Top
Always remember to start the removal process from the uppermost cabinet first.
- Insert a putty knife or pry bar between the cabinet and the wall near one of the corners.
- You must gently tap the putty knife handle or pry bar with a rubber mallet or hammer to create space between the cabinet and the wall.
Step #3: Loosen the Adhesive
- Get the putty knife or pry bar.
- Apply gentle pressure to pry the cabinet away from the wall, but be careful.
- Work along the top, applying consistent pressure to separate the adhesive bond.
Remember not to use excessive force to avoid damaging the cabinet or the wall for the sake of not destroying anything.
Step #4: Repeat the Process for the rest
Once you’ve loosened the top cabinet, move on to the next one below it.
- Repeat using the putty knife or pry bar to pry the cabinet away from the wall, gradually working your way down.
Step #5: Bottom Cabinet Removal
If you’re done removing the cabinet but the bottom part, it may be attached to the countertop or the floor.
- First, check if any screws or brackets are securing it.
- If so, remove them using a screwdriver.
- Once the fasteners are removed, follow the same procedure as before to detach the bottom cabinet from the wall.
If you reach this far, you are done with the primary part. After removing all the cabinets, you might have some adhesive residue left on the wall. Use a residue remover or adhesive solvent to clean it off.
Potential Damage to the Wall During Cabinet Removal
Many things can happen in the process that might cost you a lot. That’s why I have gone through all the possibilities you should be prepared for, know if it’s worth the risk, and try to avoid them.
- During cabinet removal, it’s possible for tools or cabinet edges to come into contact with the wall surface, resulting in scratches or scuff marks. Be aware of those.
- In cases where screws or anchors were used to secure the cabinets, their removal can leave behind small holes or indentations in the wall.
- If the cabinets were heavily attached to the wall or improperly installed, their removal might result in loose or damaged sections of drywall.
- Depending on the condition of the wall paint, removing kitchen cabinets can sometimes cause the paint to peel or chip.
Remember, if you’re unsure about tackling these repairs yourself or want a flawless finish, it’s always a good idea to consult a professional cabinet maker or a contractor.
Wrap Up
I hope you know by now why you couldn’t find those screws and what might be the reasons and how to find them. Besides, in the removal process, how to tackle and find the potential issues and operate a smooth removal process to avoid any issues.
I discussed two types of methods in detail and step by step to help you understand. Let me know if there are any more issues with that. Good Luck!

Chino is an accomplished Founder and Home Improvement Contractor with a passion for transforming living spaces into beautiful, functional, and comfortable homes. With years of experience in the industry, he has established himself as a reputable expert in the field, earning the trust and admiration of numerous clients.